-
If you want to add a item:
-
Click the
 button at the bottom of the list. button at the bottom of the list.
-
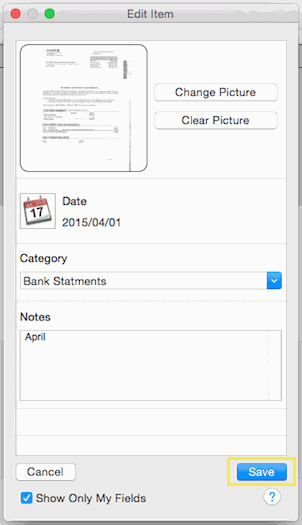
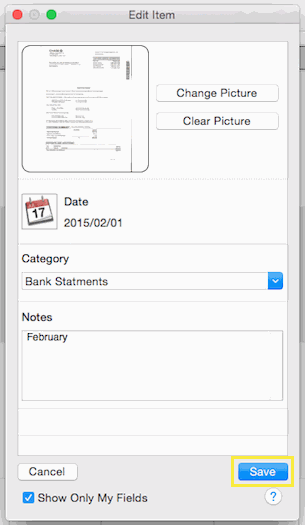
After entering the details, click the Save button to commit your changes or click the Cancel button to lose any changes.
-
If you want to update a item:
-
Double click the item you want to update.
-
The Update Item page will then load with the details for that item, after updating the details, click the Save button to commit your changes or click the Cancel button to lose any changes.
-
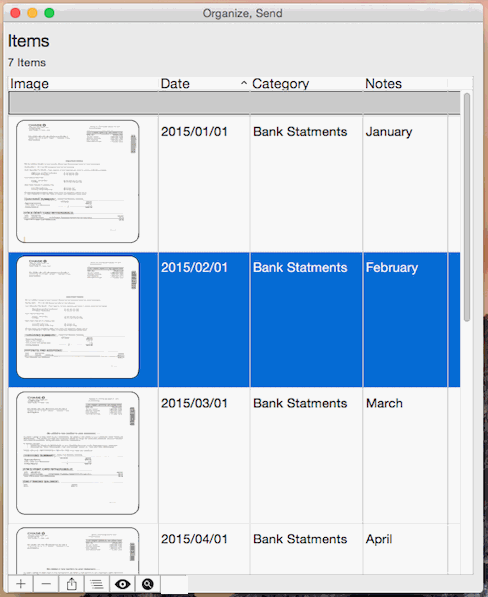
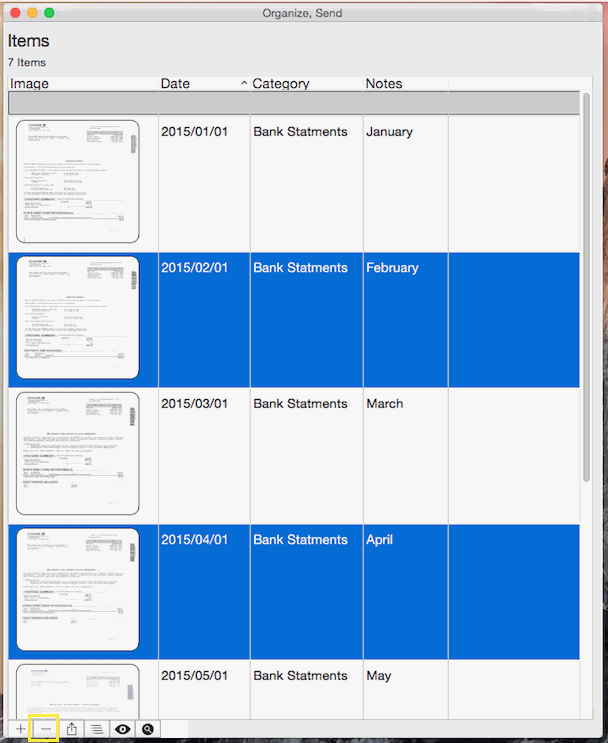
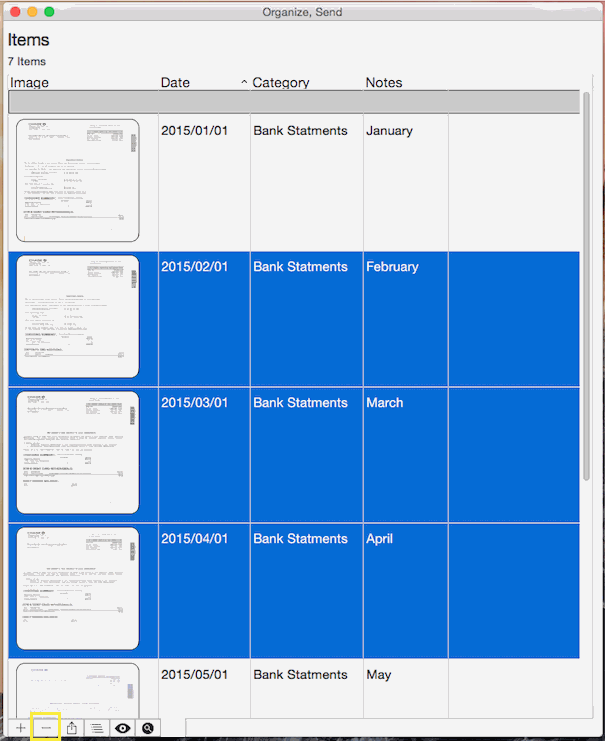
If you want to delete item(s):
-
Hold down the Command key and single-click on multiple items.
or
The Shift key lets you select a group of items that are contiguous, or next to each other in the list. Single-click on the first item you want to select in a list. Then hold down the Shift key and click on the last item you want in the list. Everything between the two clicks will be selected.
-
To complete deleting the selected rows, click the
 button at the bottom of the list. button at the bottom of the list.
|
|
|
-
Click the
 button below the list of items button below the list of items
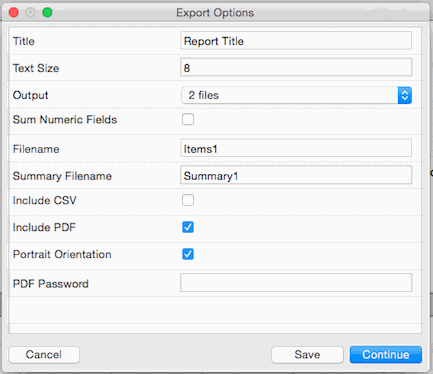
- Next on the Export Options screen you have these options:
-
Title: the title will be included in the report and will also be the subject of the email message
-
Text Size: this option allows you to make the text larger or smaller exported report, this does not affect the text size in the CSV file).
-
Output: this option allows you to choose the layout of the output and if you want single or multiple files
-
Sum Number Fields: this option allows you to enable the summing of all numeric fields based on the grouping of the items
-
Filename: the name of the output file
-
Summary Filename: the name of tabular summary file (if enabled)
-
Include CSV: includes tabular summary in a CSV file
-
Include PDF: includes PDF files (if enabled)
-
Portrait Orientation: determines if the PDF is generated in portrait or landscape orientation
-
PDF Password: add an extra layer of security by password protecting the all PDF files.
Passwords can only be added to the PDF files; all other file will not required a password to open. If you need to secure your output then you should turn off the include csv option because the csv will not require a password to open.
-
Click the "Continue" button then click your preferred export option
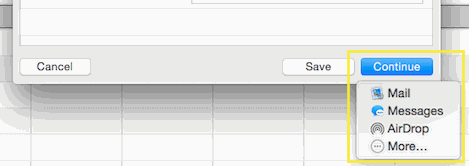
Or
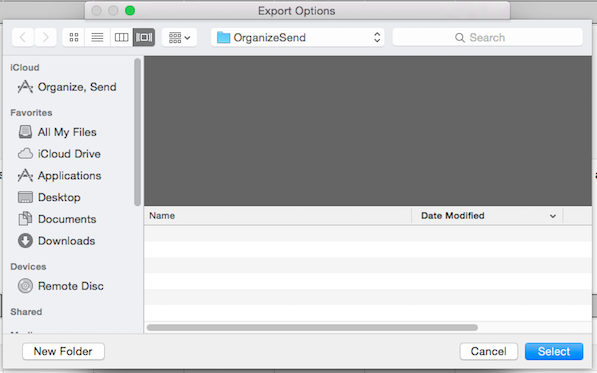
Click the Save button item

Then select the location to save the report(s) to
|
-
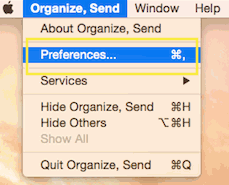
Access the preferences pane.
Keyboard shortcut: Command key (it has a ⌘ symbol) and then the ","
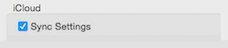
-
Check or uncheck the Sync Settings checkbox in the iCloud section.
|
-
Click
 button at the bottom of the list. button at the bottom of the list.
-
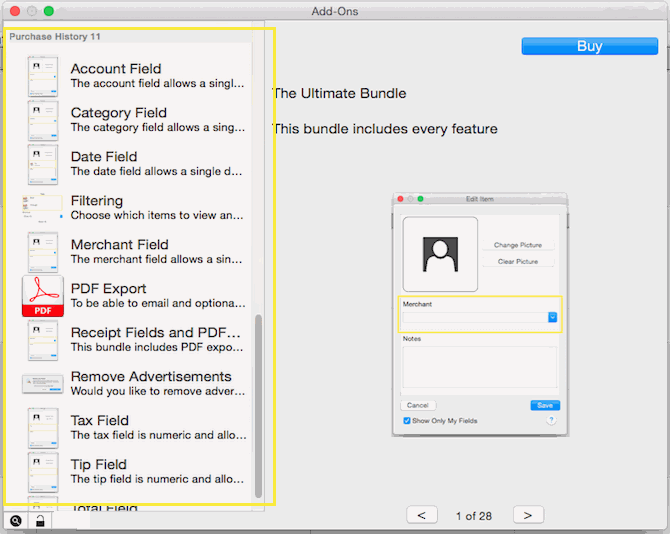
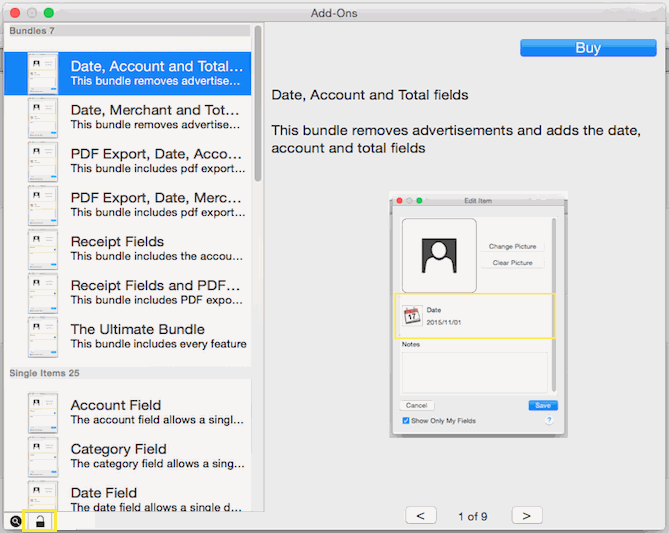
Once the store loads, it will be divided into several sections:
-
Bundles: this section shows you items that have been grouped into a single purchase.
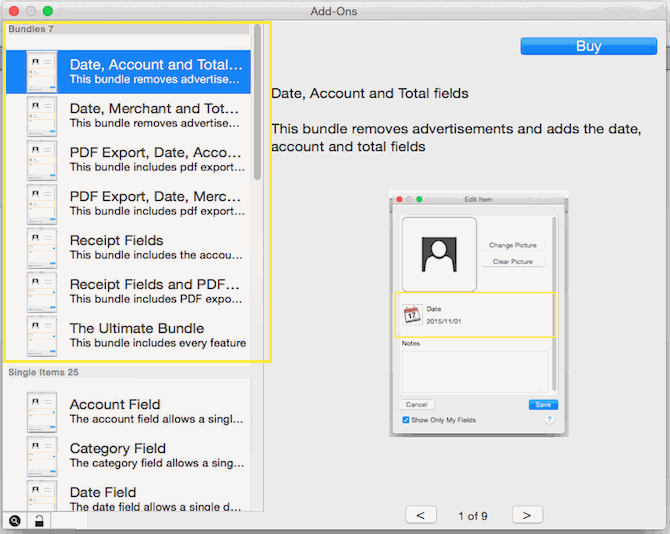
-
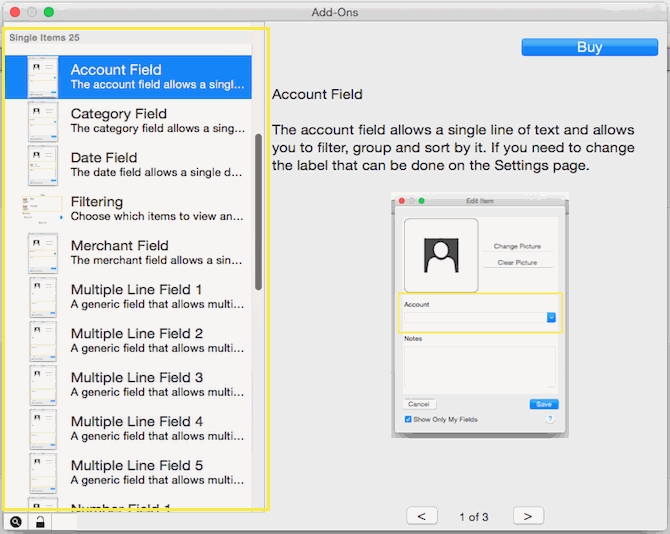
Single Items: this section shows you individual items that are available for purchase.
-
Purchase History: this section shows your purchase history.
-
To restore your previous purchases, the restore button
 at the bottom of the list then follow the instruction provided by Apple at the bottom of the list then follow the instruction provided by Apple
|